Monday, March 05, 2007

New Socks and More

My new socks:

Pattern: Oriel from Sensational Knitted Socks; it was my first toe up sock and I might just be hooked. I only had a few yards leftover. I've been asked about the toe-up heel flap and here's a closeup.

It's from SKS and really is a neat thing. You work it back and forth along the heel and pick up the stitches along the bottom of the heel instead of the back and then you work around, decreasing as you go up and working the slip 1, knit 1 between stitch markers for the back of the heel. The heel flap really does cup the foot on the to up heel very nicely. I highly recommend trying it.
Yarn: Apple Laine in Blueberry. I really need some more of this stuff. Gorgeous and feels so nice. It has wool, mohair and a little bit of silk and nylon.
Needles: Size 0s, my usual. I love the fabric with 0s.

Now for the more:

Tonight is my polymer clay demonstration at my knitting guild meeting. I'm going to demonstrate how to make polymer clay buttons. Here are some of the buttons I've made with molds. The two upper ones on the right were painted after baking with artist's acrylic paints and then varnished with a polymer clay gloss and the rest (except for the pink one which was not touched at all) were decorated using a brush and Pearl-Ex powders before baking, then varnished after baking. The tutorials on buttons are on the sidebar. Wish me luck.

Labels: , ,

Tuesday, February 13, 2007

WIP Wednesday and Polymer Clay Continued

Actual progress has been made on the Forest Path Stole. One and a half whole rectangles. I'm on tier 4. All while listening to my new Norah Jones CD.

I know lace usually looks like crap before it's blocked, but this shawl really seems to. You just can't tell anything about this one, but trust me, it's going to be gorgeous. I love the magic of blocking. For anyone interested, I'm using a circular needle to hold all the rectangles not currently being worked. I'm working each rectangle with a DPN and one of the circular needles. The first rectangle (on the left) has been completed for the tier and the left needle is being used as a stitch holder. The second rectangle is only halfway done and I am using a DPN and the right needle to work it. When it is completed, I'll move it over to the left and work on the next rectangle. It does make more sense if you're either working on this shawl or done entrelac before. (Speaking of which, I not only want to work on my entrelac socks from Knitters', but now I also want to do Eunny Jang's socks from the new Interweave!)

I will show the Snowman vest, I promise, just as soon as I finish all the fiddly embroidery.

For now, I'll amuse you with more polymer clay. To use the molds, choose your color and condition it. Press a small wad firmly into the mold and carefully remove.

You may have to do this more than once to get it right. Carefully trim off the excess and smooth. You can sand and polish after it's been baked. You can make a shank at this point by just taking a small bit of clay and poking a hole in and flatten one side. You bake it separately and glue it onto the back of the button using superglue.

You can decorate the buttons before baking with artist's pastels (the soft kind, not the oil kind) or with powders.

I've used Jacquard Pearl Ex Powders. (Yes, that Jacquard.)

You just dip the tip of a paintbrush into the powder and "paint" it over the clay. Bake according to clay package directions and paint with a varnish for the clay to keep the powders from rubbing off later.

(Edit: I've had a couple of questions about care, so here you go. As long as you handwash your sweaters, you shouldn't have to remove the buttons. If they aren't varnished, acrylic paint and the powders will probably wash off eventually, but varnish should protect the button. I personally would not run the buttons through the washing machine - though they might be fine on cold - but definitely not through the dryer.)

I also meant to have some of the buttons fired and to paint them with acrylics, but I'm suffering from yet another cold and it's kicking my butt, so that will have to wait until another post. I just can't seem to stay well this winter.

Happy Valentine's Day everyone!

Labels: , , ,

Monday, February 12, 2007

Polymer Clay Button Molds

You can use polymer clay to make unique buttons. There's a tutorial on the sidebar for caned buttons, but these instructions are for making molds. First you find a button you like.

You can also use rubber stamps, jewelry, sea shells, or other items, just something that will make a clear impression. Then you condition your polymer clay by rolling it your hands and playing with it until it's pliable and soft. You then press the button firmly into the wad of clay.

Carefully remove the button and you have a mold.

I apologize if this is a little blurred; it really is hard to get a clear picture sometimes of the mold. You now "fire" the clay (which is really at a low temperature in your oven) according to package directions.

Pretty simple, huh? Wednesday, I'll continue the tutorial with how to use the molds to make buttons and a few tips on decorating them.

There is a little knitting going on. I've finished the second snowman vest except for sewing the buttons on and all the fiddly embroidery, so I'll get to that sometime soon. And I've just finished the heel of the second CTH sock, so I'm on the home stretch there. Finally, I'm picking Forest Path back up this evening and figuring out exactly where I am. I'm going have progress for next week's KAL update!

Stay warm! (We're expecting a bit more snow tonight.)

Labels: , ,

Sunday, October 29, 2006

Polymer Clay Snowman Buttons

Polymer clay is a wonderful thing for crafters and knitters can use it to make customized buttons for their garments. I am going to make buttons for the snowman vest and I'm going to show you how I do it. Almost every polymer clay book out there has the same technique (called "caning") that I'm going to use. It's taken from glasswork and you can use it to make many very detailed, nearly identical buttons.

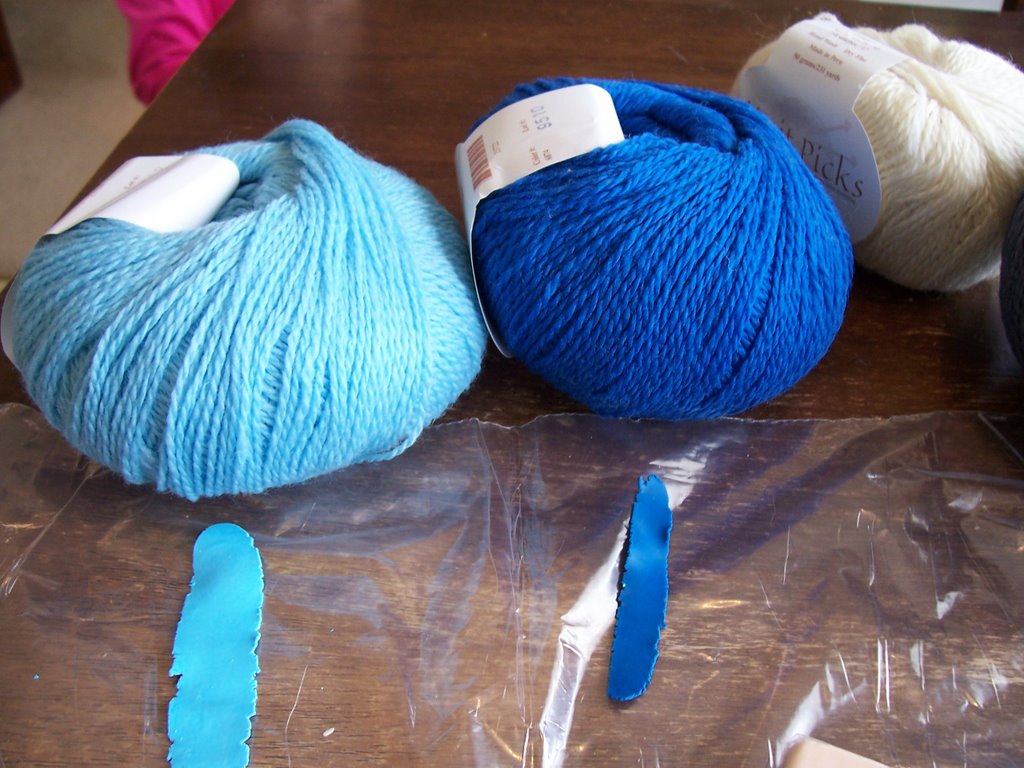
The first step is to match the blues for the buttons. These are the colors I wanted to match. I used blue and white to match the left and blue and a little black to match the dark blue. Easy. I then made up larger amounts.


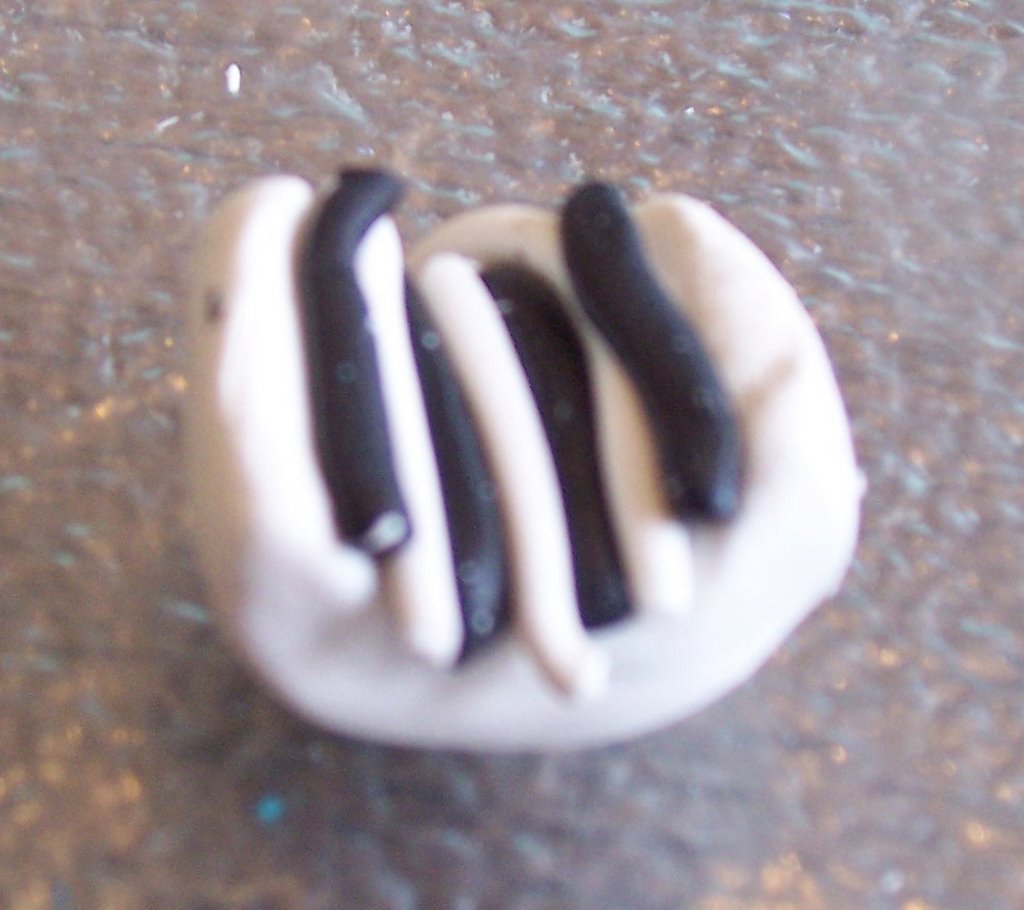
This is how to make the snowman face. I started with a hollowed out tube of white and added white and black strips for the smile. I then added more white and strips for the eyes. Then I rolled the cylinder to make the snowman face.


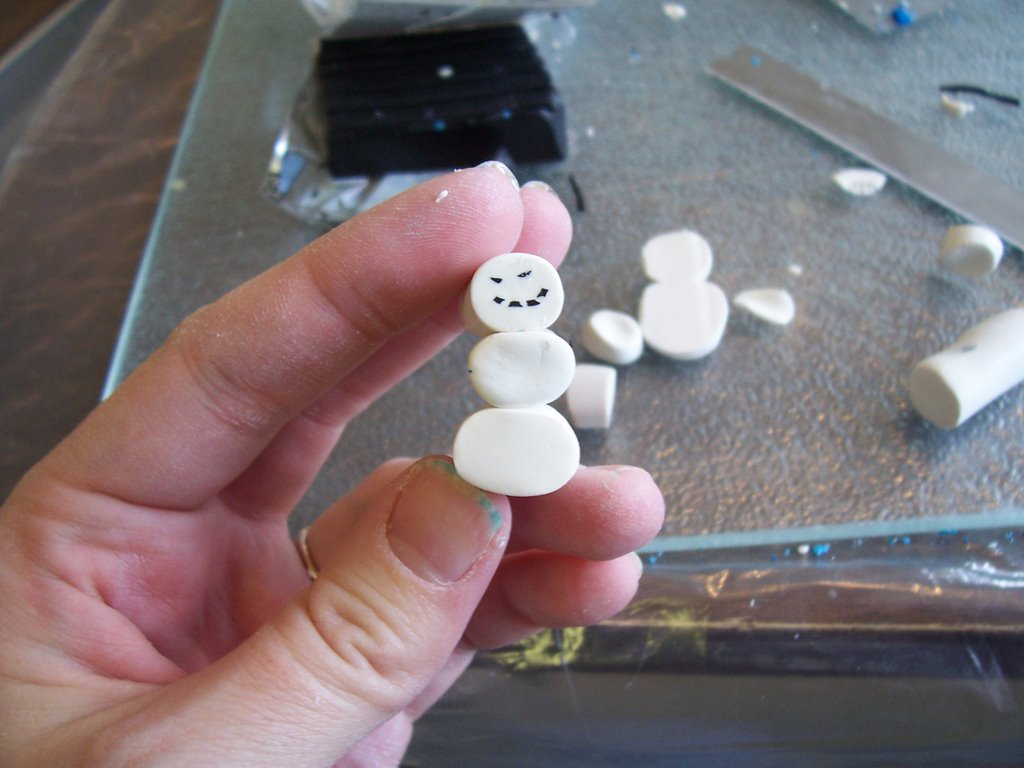
I then added two white body cylinders.


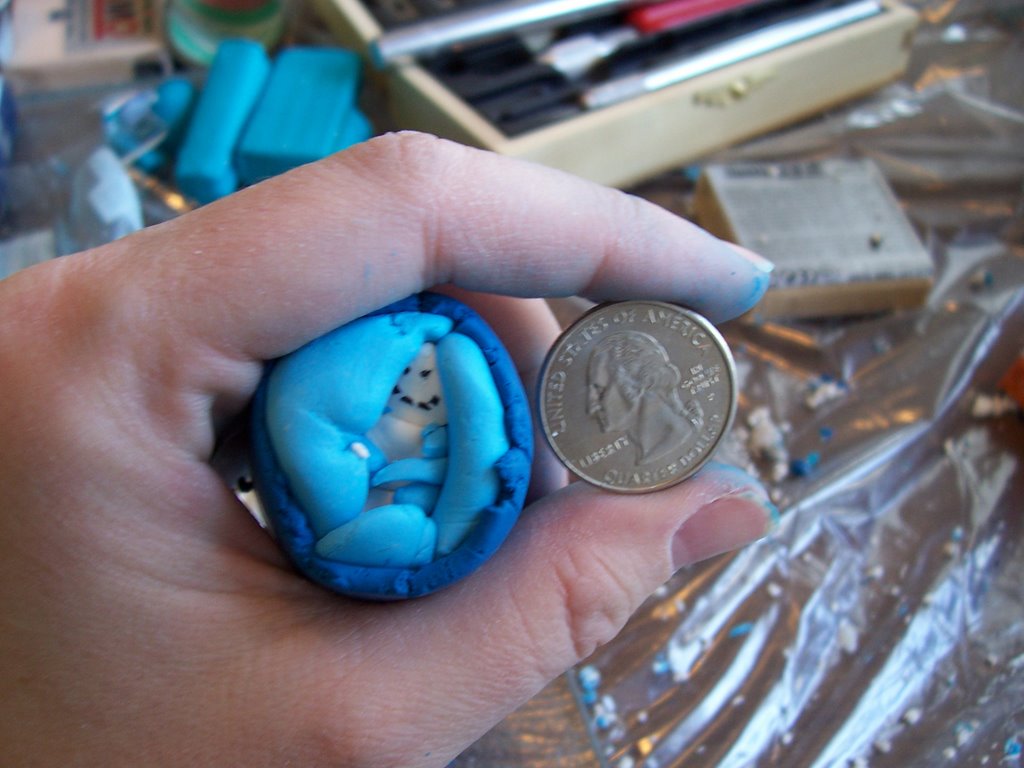
I surrounded the snowman with light blue and then dark blue.


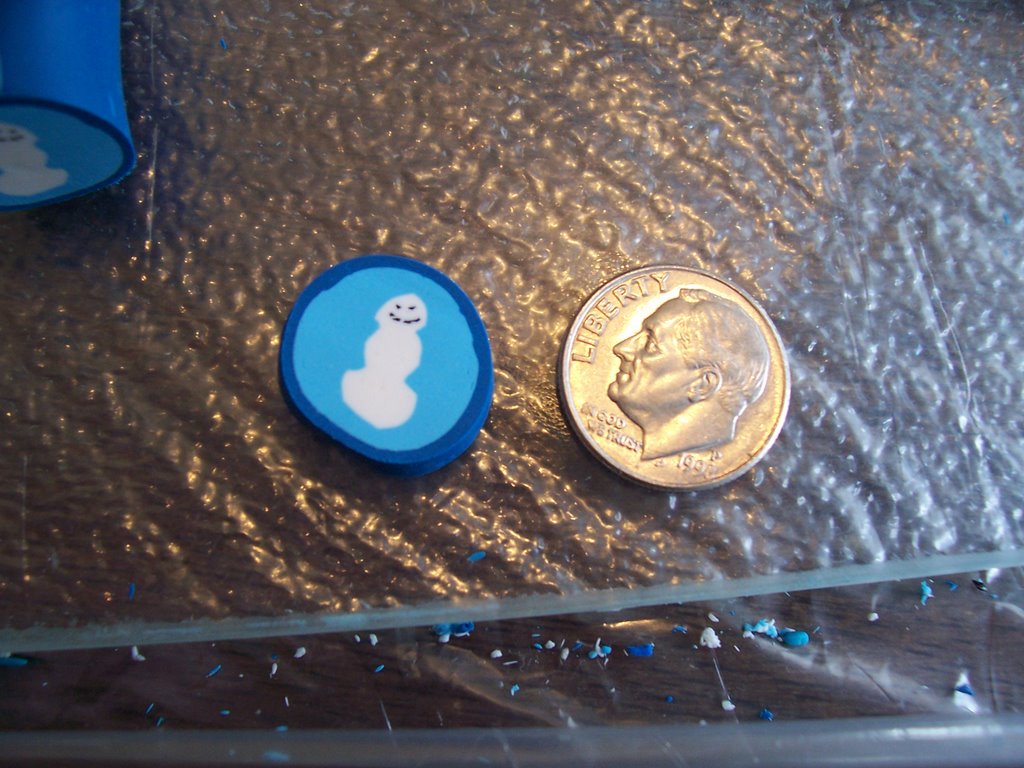
Then, I rolled the cylinder down to about the size of a dime.


It's ready to be cut.


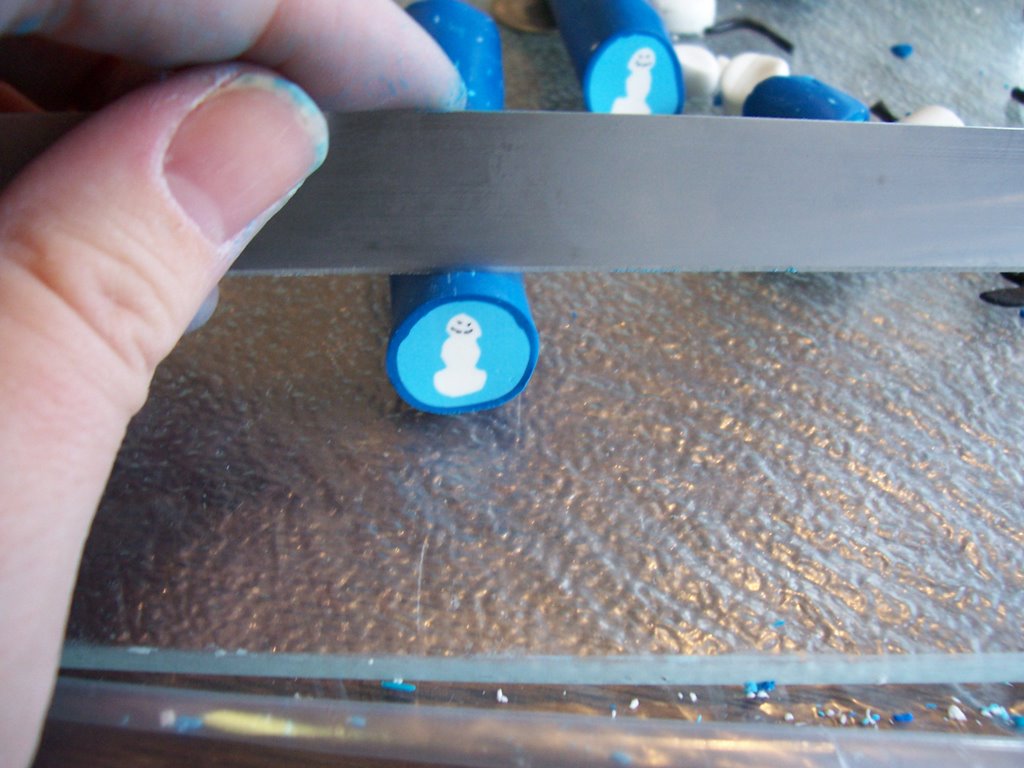
And we have buttons. I cut about 25 off the cane and I poked holes to sew them onto the vest and cooked them according to package directions.

Labels: , ,