Polymer Clay Button Molds
You can use polymer clay to make unique buttons. There's a tutorial on the sidebar for caned buttons, but these instructions are for making molds. First you find a button you like.

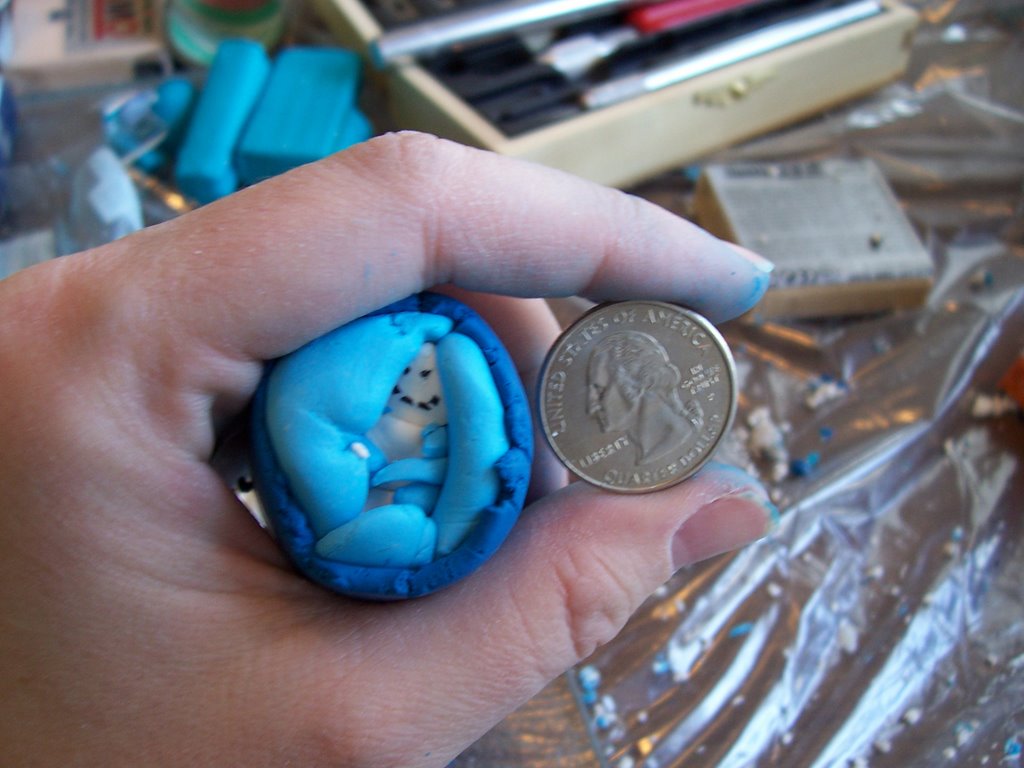
You can also use rubber stamps, jewelry, sea shells, or other items, just something that will make a clear impression. Then you condition your polymer clay by rolling it your hands and playing with it until it's pliable and soft. You then press the button firmly into the wad of clay.

Carefully remove the button and you have a mold.

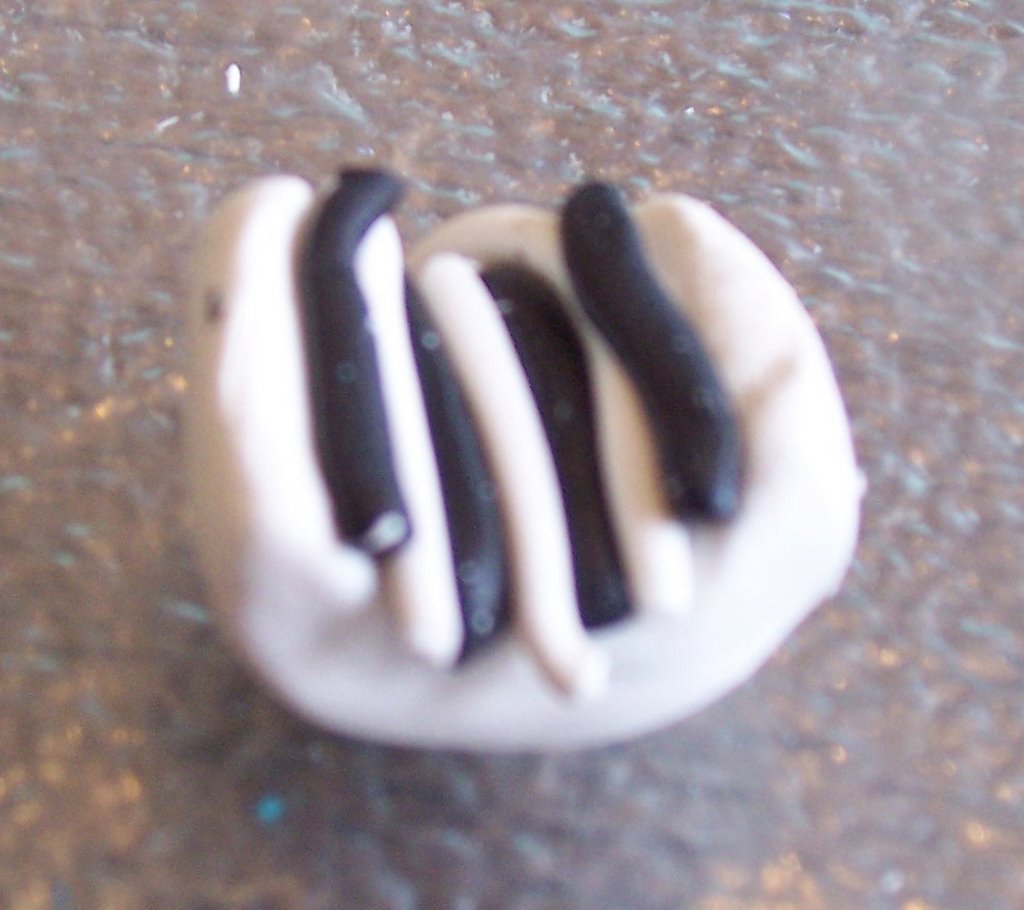
I apologize if this is a little blurred; it really is hard to get a clear picture sometimes of the mold. You now "fire" the clay (which is really at a low temperature in your oven) according to package directions.
Pretty simple, huh? Wednesday, I'll continue the tutorial with how to use the molds to make buttons and a few tips on decorating them.
There is a little knitting going on. I've finished the second snowman vest except for sewing the buttons on and all the fiddly embroidery, so I'll get to that sometime soon. And I've just finished the heel of the second CTH sock, so I'm on the home stretch there. Finally, I'm picking Forest Path back up this evening and figuring out exactly where I am. I'm going have progress for next week's KAL update!
Stay warm! (We're expecting a bit more snow tonight.)

You can also use rubber stamps, jewelry, sea shells, or other items, just something that will make a clear impression. Then you condition your polymer clay by rolling it your hands and playing with it until it's pliable and soft. You then press the button firmly into the wad of clay.

Carefully remove the button and you have a mold.

I apologize if this is a little blurred; it really is hard to get a clear picture sometimes of the mold. You now "fire" the clay (which is really at a low temperature in your oven) according to package directions.
Pretty simple, huh? Wednesday, I'll continue the tutorial with how to use the molds to make buttons and a few tips on decorating them.
There is a little knitting going on. I've finished the second snowman vest except for sewing the buttons on and all the fiddly embroidery, so I'll get to that sometime soon. And I've just finished the heel of the second CTH sock, so I'm on the home stretch there. Finally, I'm picking Forest Path back up this evening and figuring out exactly where I am. I'm going have progress for next week's KAL update!
Stay warm! (We're expecting a bit more snow tonight.)
Labels: Buttons, Polymer Clay, Tutorials
posted by Alison at 4:01 PM
4 comments